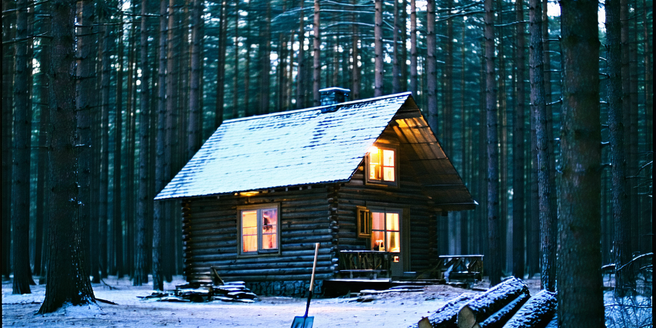
Understanding the Importance of Winter Shelters
Winter shelters are vital for survival in cold environments. They provide protection from harsh weather, reduce heat loss, and help conserve energy. When the temperature drops, a well-constructed shelter can mean the difference between life and death. It is essential to choose the right type of shelter based on your environment, resources available, and the duration of your stay. Quick and effective construction techniques are key to staying warm and safe. By understanding the significance of winter shelters, you can better prepare for extended periods outdoors, ensure comfort, and ultimately increase your chances of survival.
Materials to Gather for Your Winter Shelter
When preparing to build a winter shelter, the right materials are crucial. Snow, wood, and insulation materials like leaves or grass can make a big difference. Snow can act as a good insulator, while branches and logs provide structure and support. Gather dry materials where possible, as wet items can lead to heat loss. Consider using a tarp or any available fabric to create a moisture barrier. Collect enough materials to ensure the shelter’s stability and insulation. Prioritize lightweight and easy-to-carry materials if mobility is necessary. Planning ahead and resourcefulness are key to constructing a durable and warm shelter.
Step-by-Step Guide to Building a Snow Cave
Building a snow cave requires careful planning and execution. Start by locating a deep snowbank. Use skis or a shovel to dig an entrance tunnel into the snowbank, ensuring it slopes slightly upward to prevent cold air from entering. Once you reach the desired depth, create a domed chamber that will serve as the main living area. Smooth the walls and roof to prevent dripping. Make a small ventilation hole through the top to allow airflow but block strong winds. Insulate the floor with branches or sleeping mats. A well-made snow cave is both an effective and energy-efficient shelter.
Constructing an A-Frame Shelter with Branches
Constructing an A-frame shelter requires minimal materials and is one of the quickest shelters to build. Start by selecting two sturdy trees about six to seven feet apart. Lay a long, strong branch between them to serve as the ridgepole. Lean shorter branches against the ridgepole to form the A-frame shape, ensuring there’s an even distribution on both sides for stability. Use leaves, pine boughs, or any available foliage to cover the frame, insulating against wind and snow. Ensure the entrance is away from prevailing winds. An A-frame shelter is ideal for protection from the elements in wooded areas.
Insulating Your Shelter for Maximum Warmth
To maximize warmth in your winter shelter, insulation is key. Start by using natural materials like leaves, pine needles, or grass to fill the gaps in your walls. Be sure to check that these materials are dry to prevent mold and dampness. This prevents cold air from seeping in while keeping the warm air trapped inside. Adding extra layers on top of your shelter can enhance its insulating properties. Utilize your sleeping bags or other fabric items as liners. Make sure the shelter’s entrance is small or coverable to minimize heat loss. Proper insulation can significantly improve your shelter’s comfort, making it a lifesaver in freezing temperatures.
Safety Tips and Precautions in Winter Conditions
When exposed to winter conditions, safety should be a top priority. Always inform someone of your plans and expected return time. Dress in layers to manage body temperature and prevent hypothermia. It is also advisable to carry a fully charged phone or communication device for emergencies. Be aware of the signs of frostbite and hypothermia, and have a plan in case of emergencies. Keep your shelter adequately ventilated to avoid carbon monoxide buildup when using stoves or heaters. Regularly check the stability of your shelter in heavy snow or wind. By following these precautions, you can ensure a safer outdoor experience despite the harsh winter conditions.
