Choosing the Right Raspberry Pi Model for Weather Projects
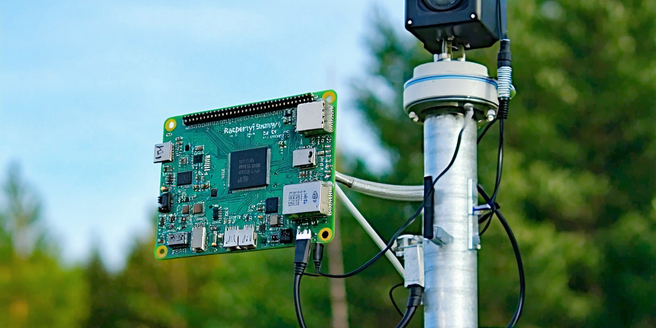
Selecting the optimal Raspberry Pi model is crucial for the success of your weather station project. The Raspberry Pi 4 Model B offers significant improvements in processing power and memory, making it ideal for more complex tasks and data handling. However, if you’re looking for a more energy-efficient option, the Raspberry Pi Zero W is an excellent choice due to its small form factor and wireless capabilities. Consider the data collection frequency and the number of sensors you plan to use. These factors will determine the processing power needed. Additionally, ensure that your chosen model has sufficient USB ports or GPIO pins for sensor connectivity. Remember to accommodate future expansion in your decision-making as technology evolves and your project requirements grow.
Essential Components for Building a Weather Station
Building a weather station demands specific components beyond just the Raspberry Pi. Sensors are a fundamental part, capturing data such as temperature, humidity, wind speed, and rainfall. The DHT22, for example, is a popular choice for measuring temperature and humidity. You may also require a rain gauge and an anemometer. Powering your Raspberry Pi requires a stable power supply, potentially augmented by a portable battery for outdoor setups. Moreover, a robust enclosure is essential to protect your components from the elements. Factor in a microSD card with adequate storage capacity to store your data logs. Finally, you’ll need jumper wires and a breadboard for circuit building and connections. With these essential components, you can effectively gather and analyze weather data with accuracy and reliability.
Setting Up and Configuring Your Raspberry Pi
To set up and configure your Raspberry Pi for a weather station project, start by installing the latest versions of Raspberry Pi OS. Use an imaging tool to write the OS onto the microSD card, then plug it into your Raspberry Pi. Connect a monitor, keyboard, and mouse to proceed with the initial setup, including selecting your language and connecting to Wi-Fi. Once setup is complete, ensure the system is updated by executing sudo apt-get update and sudo apt-get upgrade in the terminal. Enable SSH for remote system management, especially useful if you plan to run it without a monitor. Install any necessary software libraries or tools for sensor integration. Configure the Raspberry Pi to automatically reconnect to Wi-Fi after booting to ensure data logging without interruption.
Coding Basics: Collecting and Analyzing Weather Data
Collecting and analyzing weather data with your Raspberry Pi involves programming skills to interface with sensors, process data, and possibly upload it to a web server. Start by utilizing Python, a widely used language for Raspberry Pi projects. Libraries like GPIO Zero and Adafruit_DHT simplify sensor integration and data collection. Write scripts to read sensor data at regular intervals, storing these readings in CSV files or a database. You’ll need to implement data validation checks to ensure accuracy. Once data is collected, simple analysis can be done using built-in Python libraries such as pandas for data manipulation and matplotlib for visualizations. Exploring these basic coding fundamentals will not only aid in data collection but also enhance your ability to interpret and analyze weather patterns over time.
Sharing Your Weather Station Data Online
Making your weather station data accessible online is a rewarding aspect of the project. Begin by setting up a local server on your Raspberry Pi using software like Apache or Nginx. With your server ready, you can opt to upload data to a personal website or use platforms like Weather Underground for broader sharing. Create a simple web application to visualize data in real-time through graphs and charts. Communications between the Raspberry Pi and the web application can be managed via the MQTT protocol. For a more sophisticated setup, explore cloud services like AWS or Google Cloud to store and manage your data. Remember to keep data security in mind, safeguarding against unauthorized access while sharing insights with weather enthusiasts worldwide.